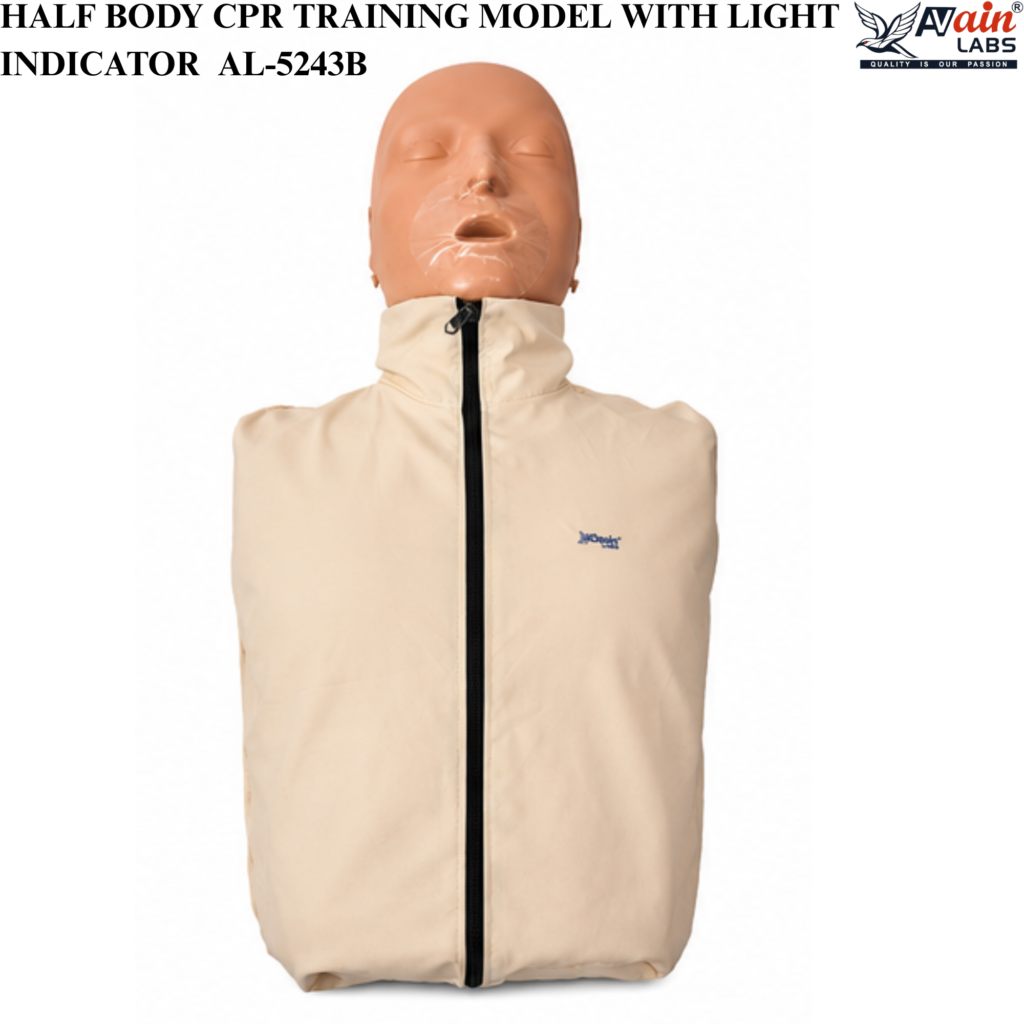
AVAIN LABS® HALF BODY CPR TRAINING MODEL WITH LIGHT INDICATOR AL-5243B
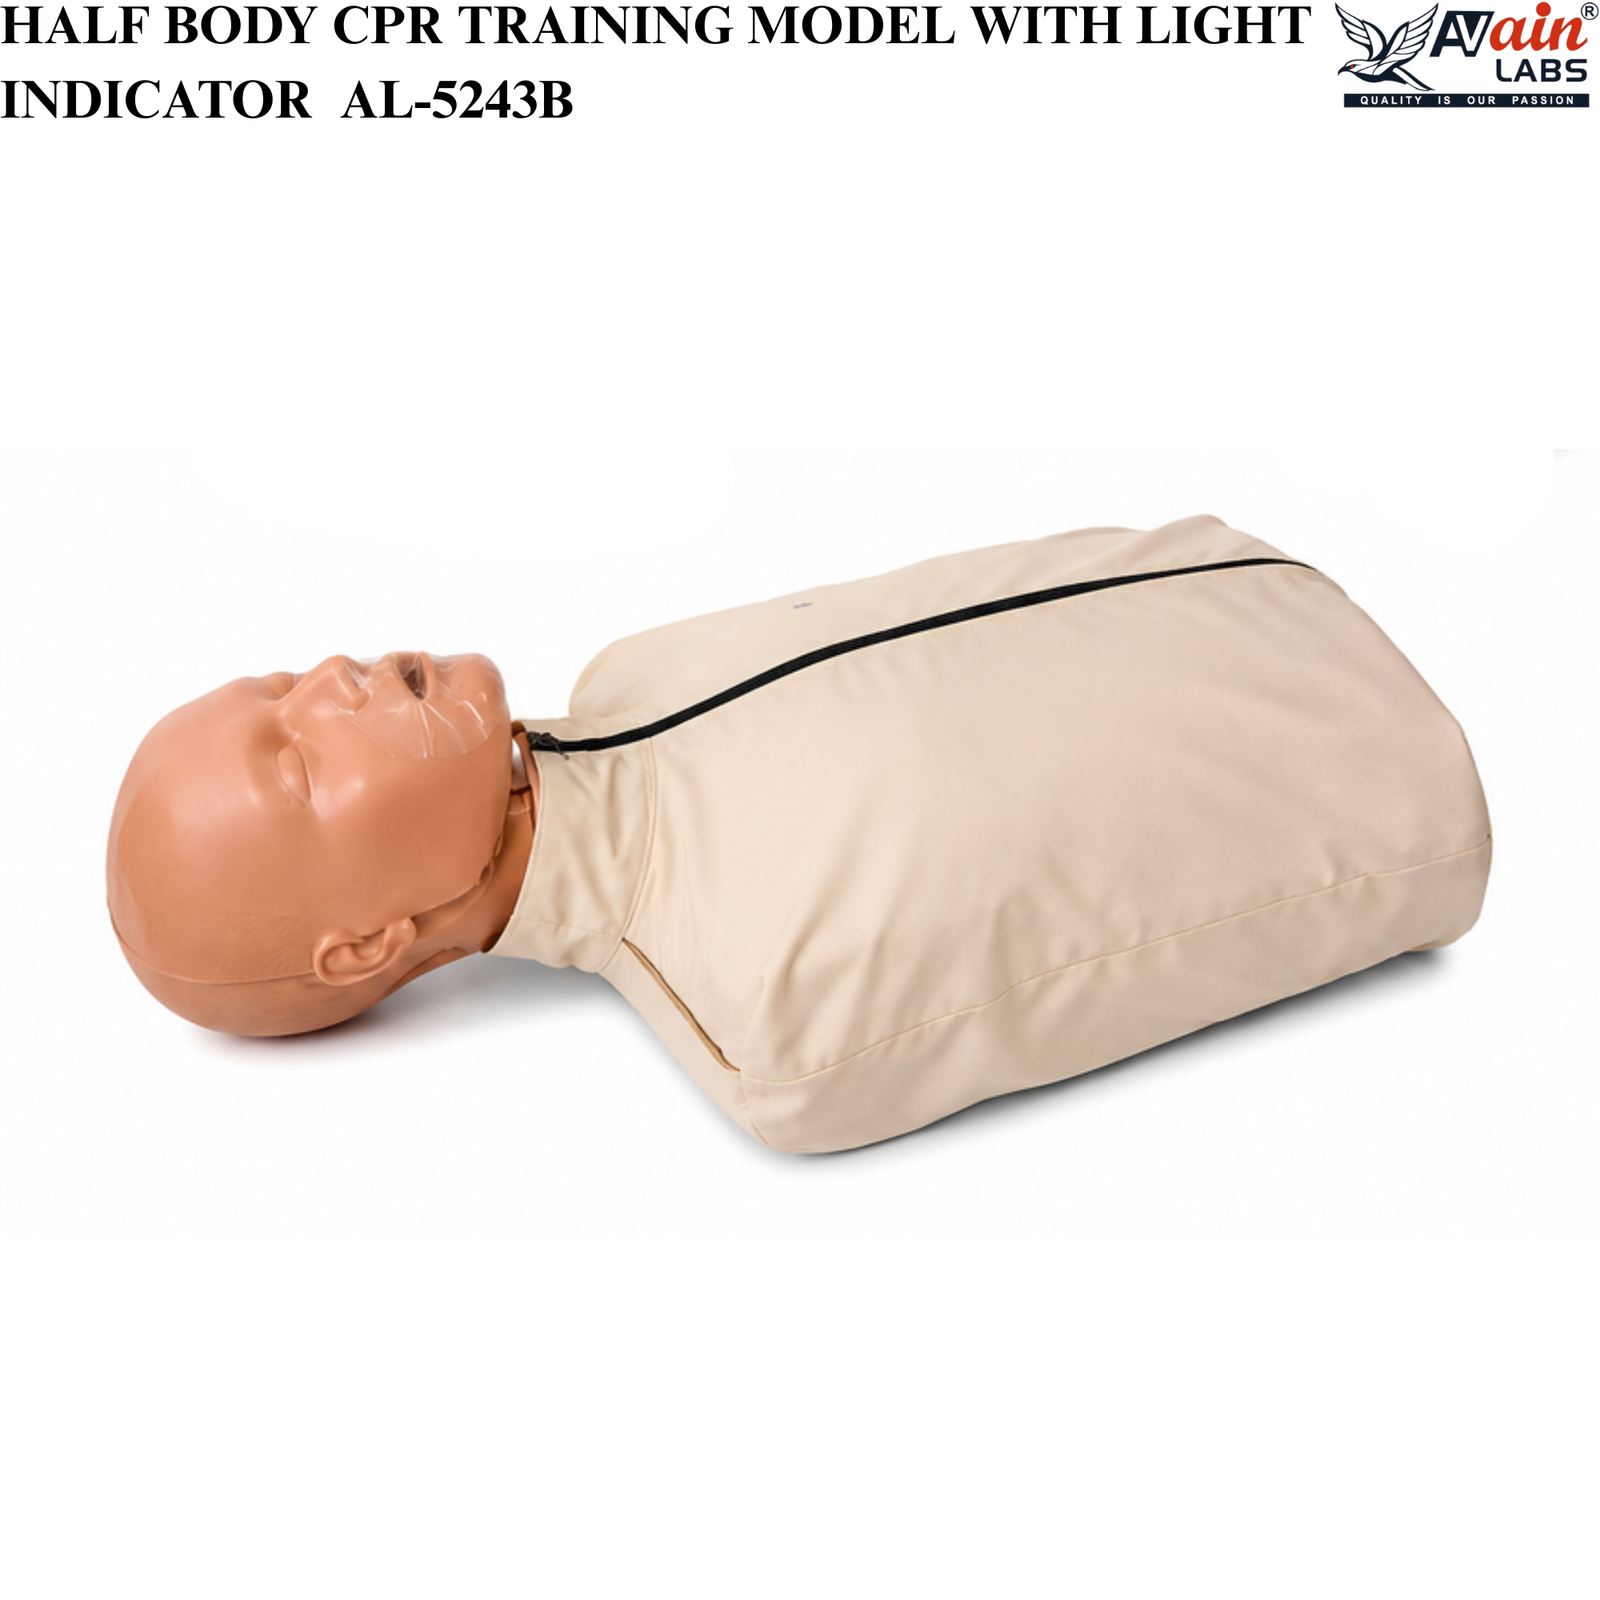
The AVAIN LABS® Half Body CPR Training Model with Light Indicator (AL-5243B) is a high-quality medical training manikin designed for effective CPR (Cardiopulmonary Resuscitation) training, first aid education, BLS training, and emergency response practice. This realistic half-body CPR simulator helps students, healthcare professionals, nursing trainees, and first responders develop and improve life-saving resuscitation skills through hands-on practice.
The model features an advanced light indicator system that provides instant feedback on chest compression depth and positioning, allowing trainees to perform CPR according to recommended guidelines. The anatomically designed torso enables realistic practice of airway management, chest compressions, and artificial respiration techniques.
Ideal for medical colleges, nursing institutes, paramedical training centers, hospitals, schools, first aid training organizations, and healthcare simulation labs, the AVAIN LABS® CPR Training Model offers a reliable and practical learning experience for CPR certification and emergency preparedness programs.
Features
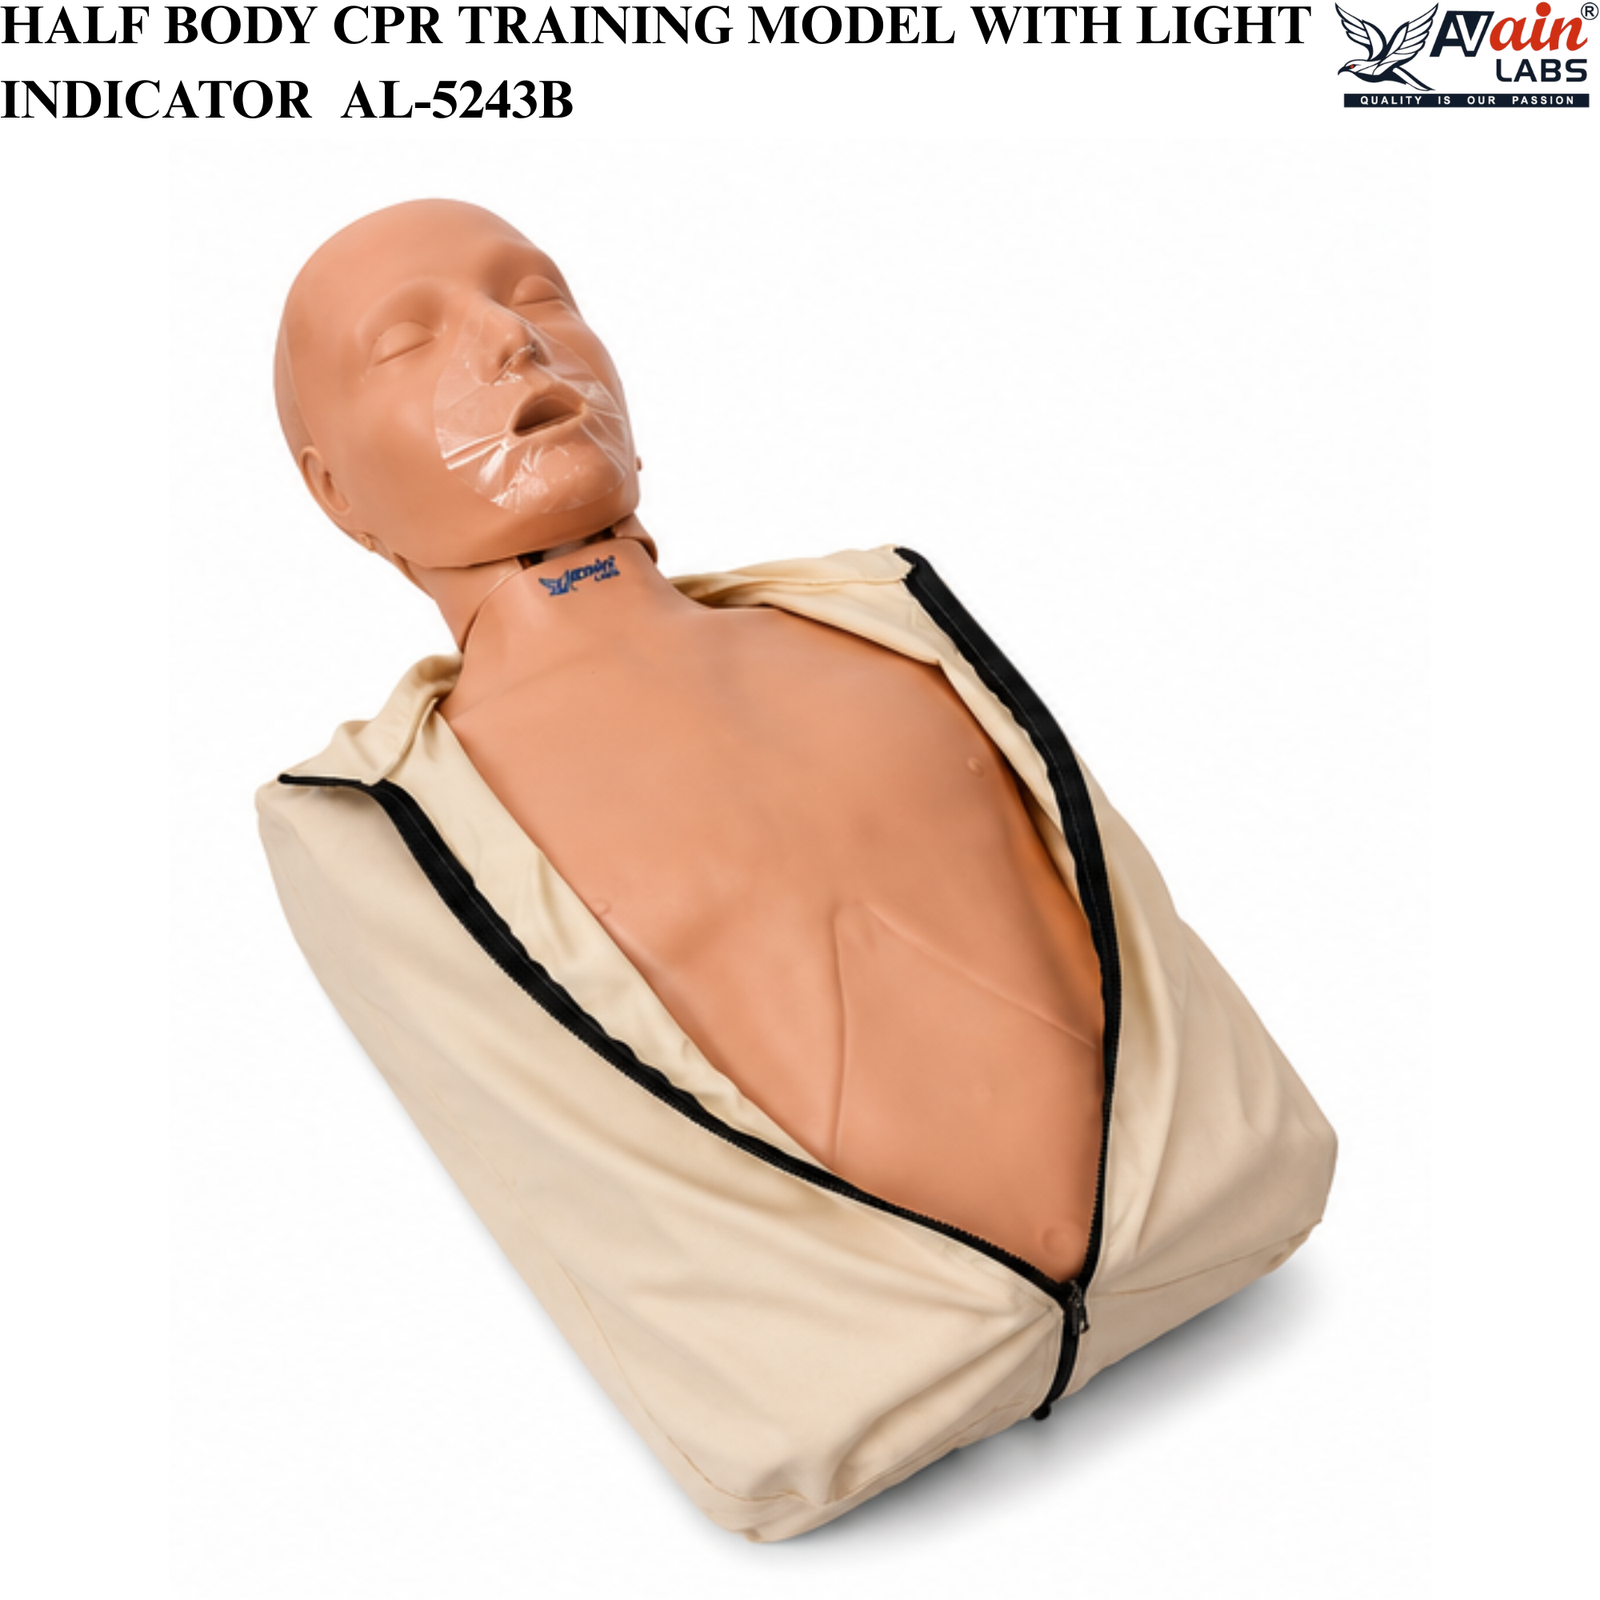
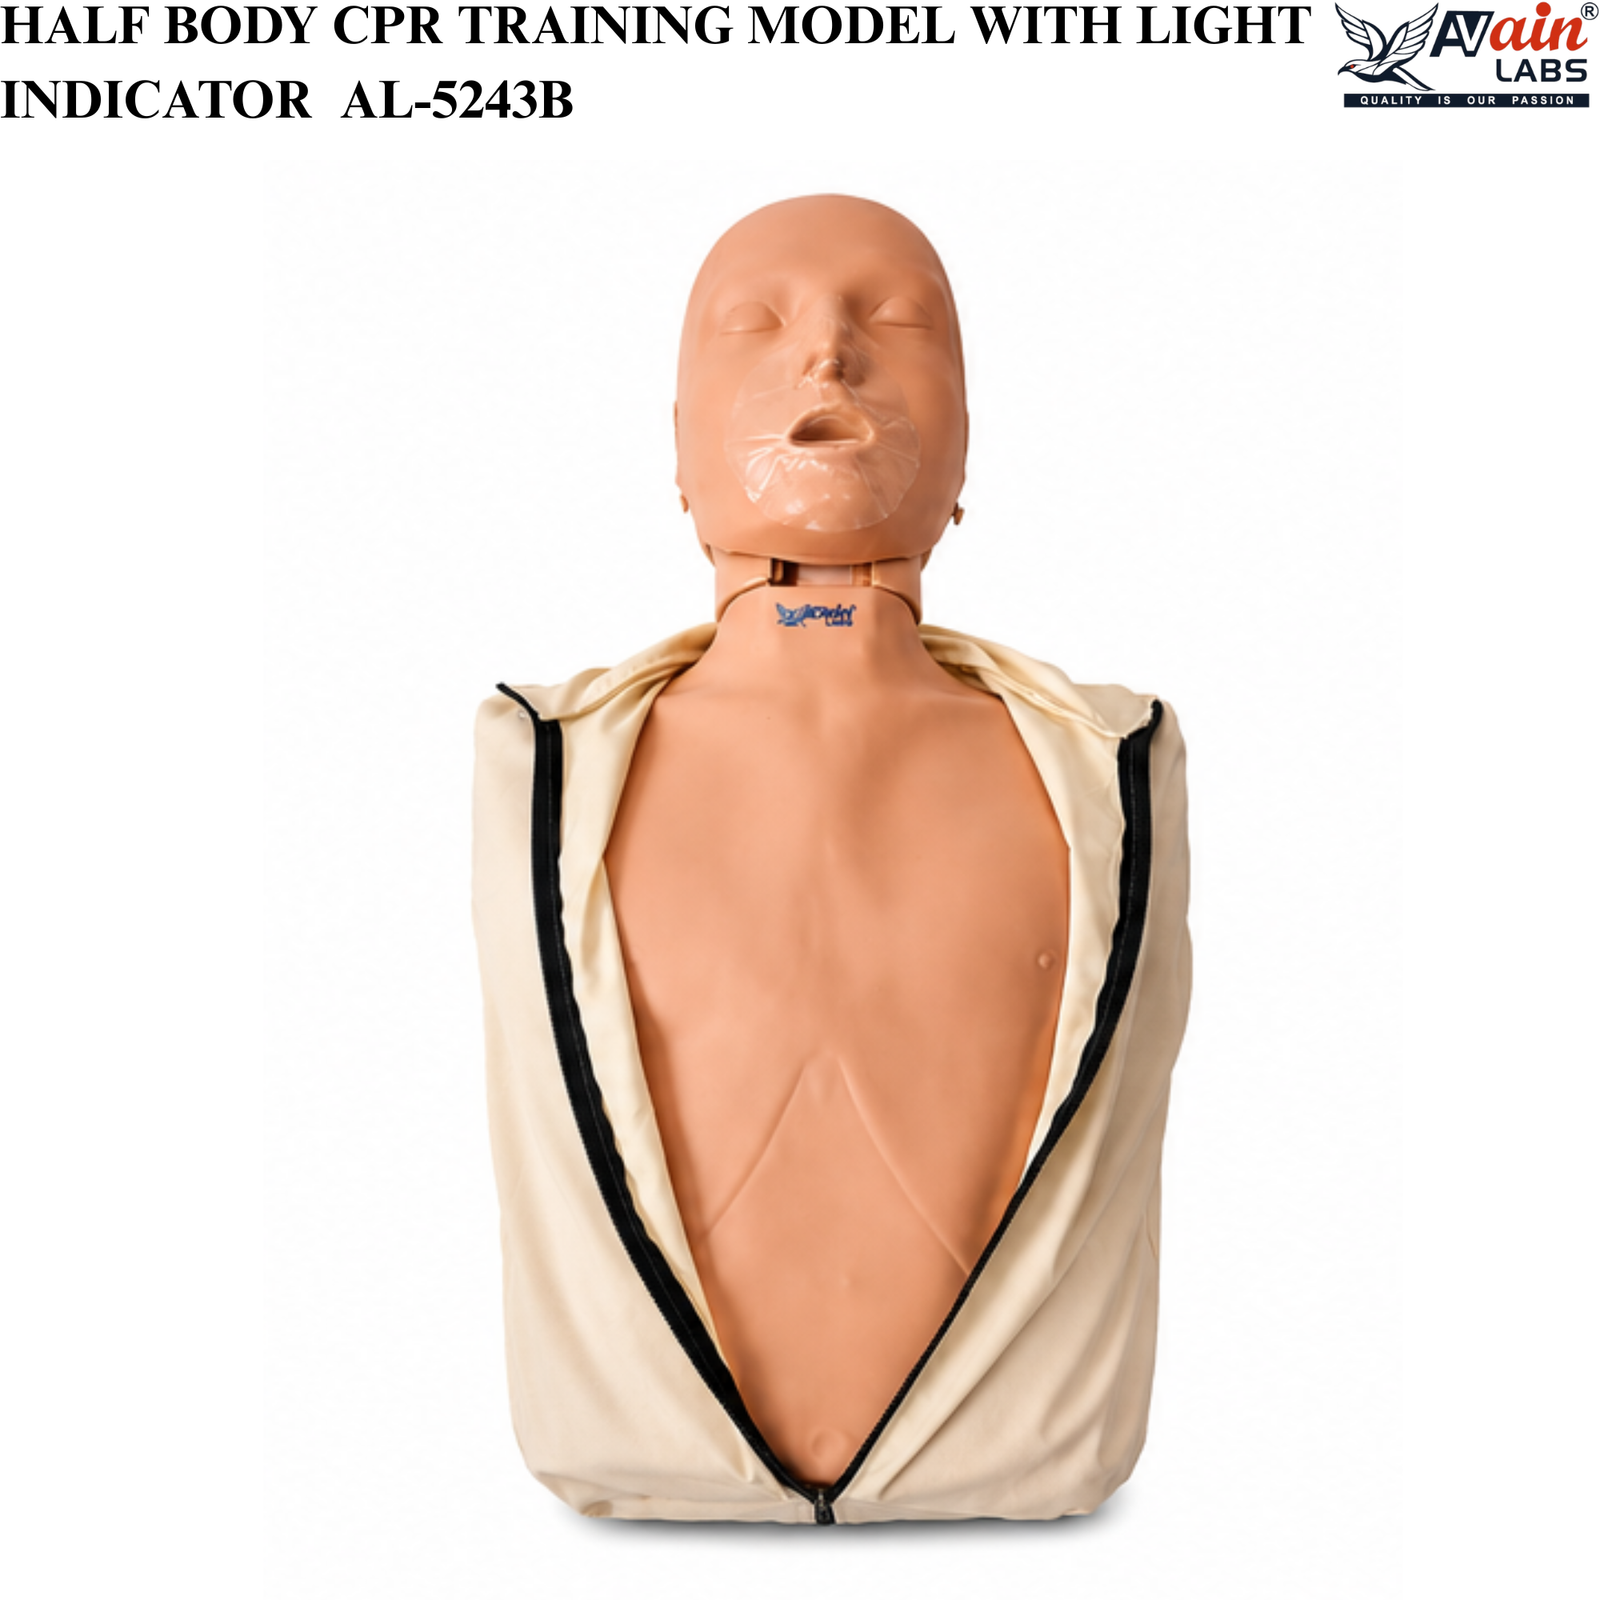
A. Simulated Standard Open Airway
- Realistic airway opening mechanism for CPR and rescue breathing practice.
- Enables proper head tilt and airway management training.
B. External Chest Compression with Light Indicator Feedback
- Supports chest compression training with recommended depth of at least 5 cm.
- Instant visual feedback through indicator lights:
- Yellow Indicator Light: Correct compression position but insufficient compression intensity.
- Green Indicator Light: Correct compression depth and intensity.
- Red Indicator Light: Incorrect compression intensity or improper compression performance.
C. Artificial Respiration Training
- Artificial ventilation and rescue breathing can be observed during operation.
- Allows learners to practice proper mouth-to-mouth resuscitation techniques.
D. Realistic CPR Practice
- Designed for repeated CPR demonstrations and practical training sessions.
- Suitable for beginner and advanced CPR learners.
E. Power Supply
- Operates on battery power (battery included).
- Portable and convenient for classroom and field training.
Applications
- CPR Training Programs
- Basic Life Support (BLS) Training
- First Aid Certification Courses
- Nursing and Medical Education
- Emergency Response Training
- Hospital Skill Development Programs
- Healthcare Simulation Laboratories
- Community Safety Training
Key Features
- Realistic Half Body CPR Training Manikin
- Integrated Compression Feedback Light System
- Simulated Airway Opening Function
- Artificial Respiration Practice Capability
- Green, Yellow & Red CPR Performance Indicators
- Durable and Reusable Construction
- Easy to Operate and Maintain
- Battery Included
- Suitable for Medical, Nursing & First Aid Training
- Professional Educational Training Equipment
Brand: AVAIN LABS®
Model: AL-5243B
Product Type: Half Body CPR Training Model with Light Indicator
Operating Instructions – AVAIN LABS® Half Body CPR Training Model with Light Indicator (AL-5243B)
Before Use
- Remove the CPR training model from the packaging.
- Insert the supplied batteries into the battery compartment.
- Place the manikin on a flat, stable surface.
- Ensure the power switch is turned ON.
- Check that the indicator lights are functioning properly before training begins.
CPR Training Procedure
Step 1: Open the Airway
- Position the trainee manikin on its back.
- Perform the head-tilt/chin-lift maneuver to simulate opening the airway.
- Confirm that the airway is in the correct open position.
Step 2: Locate the Compression Position
- Identify the center of the chest (lower half of the sternum).
- Place the heel of one hand on the compression area and the other hand on top.
- Keep arms straight and shoulders directly above the hands.
Step 3: Perform Chest Compressions
- Compress the chest vertically to a depth of at least 5 cm.
- Allow complete chest recoil after each compression.
- Follow the recommended CPR compression rate of 100–120 compressions per minute.
Indicator Light Feedback
- Yellow Light: Compression position is correct, but compression depth/intensity is insufficient.
- Green Light: Compression depth and intensity are correct.
- Red Light: Compression depth/intensity is incorrect or excessive.
Continue adjusting technique until the Green Light is consistently displayed.
Step 4: Artificial Respiration (Rescue Breathing)
- Open the airway using the head-tilt/chin-lift technique.
- Pinch the nose and provide rescue breaths through the mouth.
- Observe chest movement to verify proper ventilation.
- Practice according to standard CPR training protocols.
Step 5: Complete CPR Cycle
- Perform 30 chest compressions.
- Deliver 2 rescue breaths.
- Repeat the cycle as required for training purposes.
After Use
- Turn OFF the power switch.
- Clean the face and external surfaces with a soft cloth and approved disinfectant.
- Store the manikin in a clean, dry location.
- Remove batteries if the unit will not be used for an extended period.
Safety Precautions
- Use only for educational and training purposes.
- Do not expose the manikin to excessive heat, moisture, or direct sunlight.
- Avoid using sharp objects on the manikin surface.
- Replace batteries when indicator lights become dim.
- Clean the manikin after each training session for hygiene and long service life.
Training Applications
- CPR Certification Courses
- Basic Life Support (BLS) Training
- First Aid Training Programs
- Nursing & Medical Education
- Emergency Response Training
- Healthcare Simulation Practice